
From GPS track to shareable story
The whole journey in six steps: bring in a route, add the moments that matter, set the look and the camera, then share it or export a video.
Here is what you can build in under 3 minutes with RouteTale Presets:
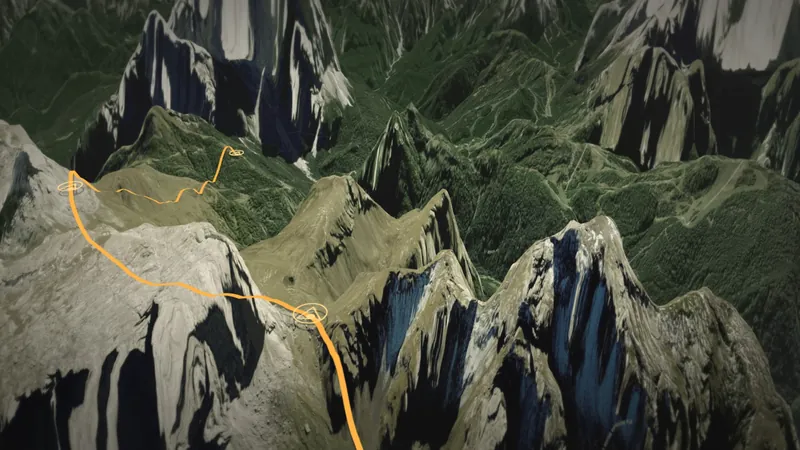 Alpine Cinematic preset
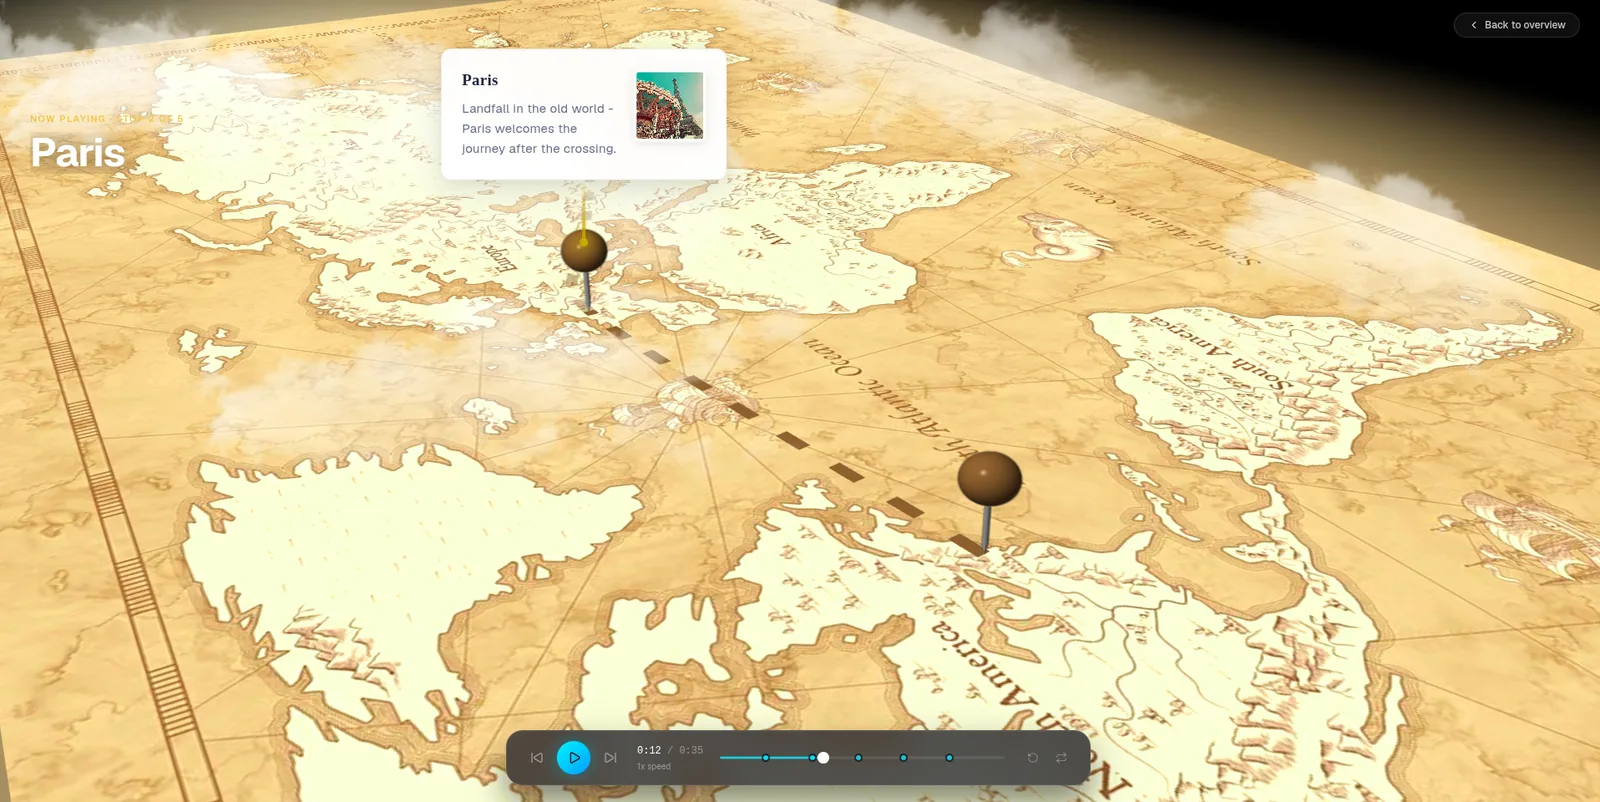
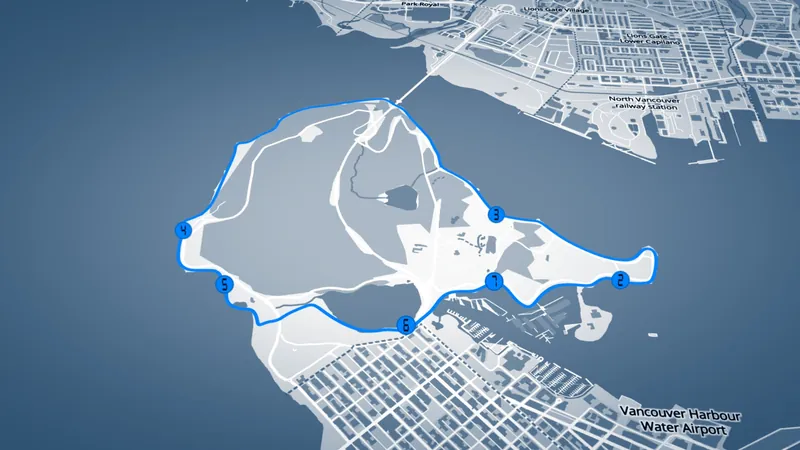 Vintage Atlas preset
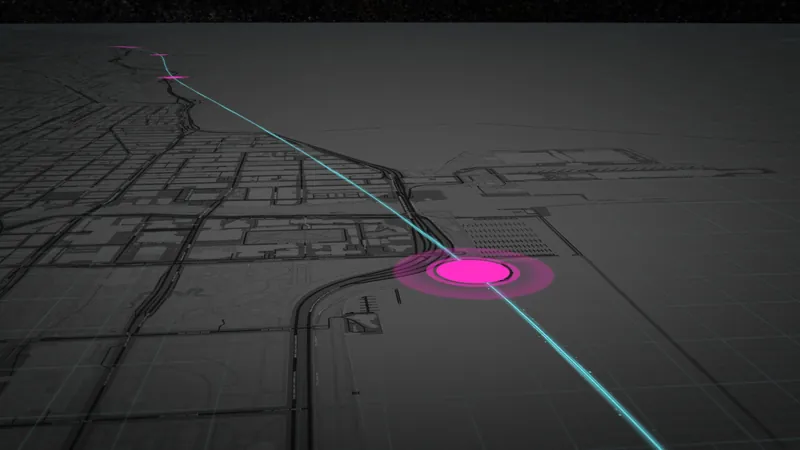 Crystal Minimal preset
Bring in your route
Create a story and choose how it starts: upload a GPS file or paste a Google Maps link, draw the path on the map, or pick the places you visited. You can try all of it before creating an account.
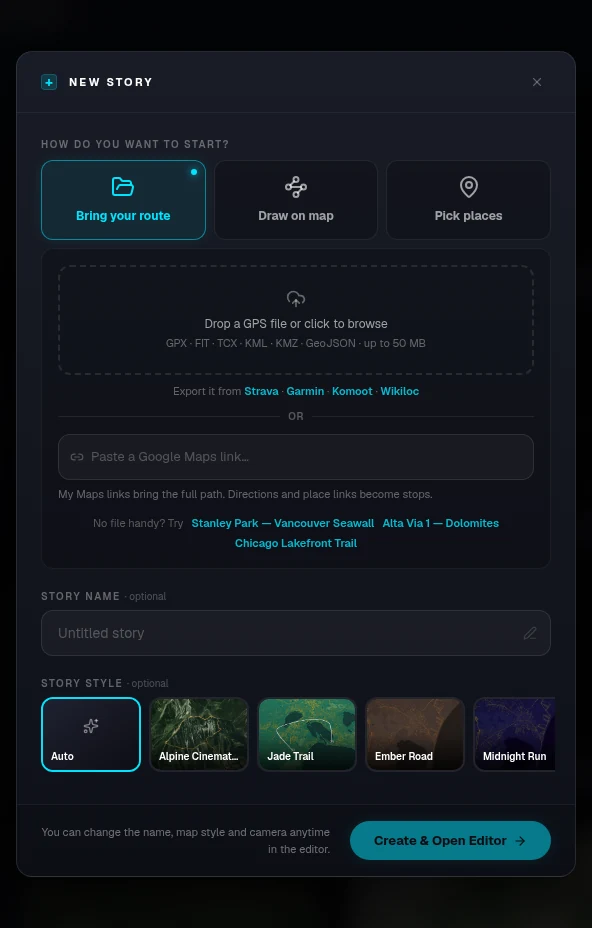
Find your way around the editor
Your route opens in the editor with a camera and a map style already applied, so you can press play straight away and adjust from there.
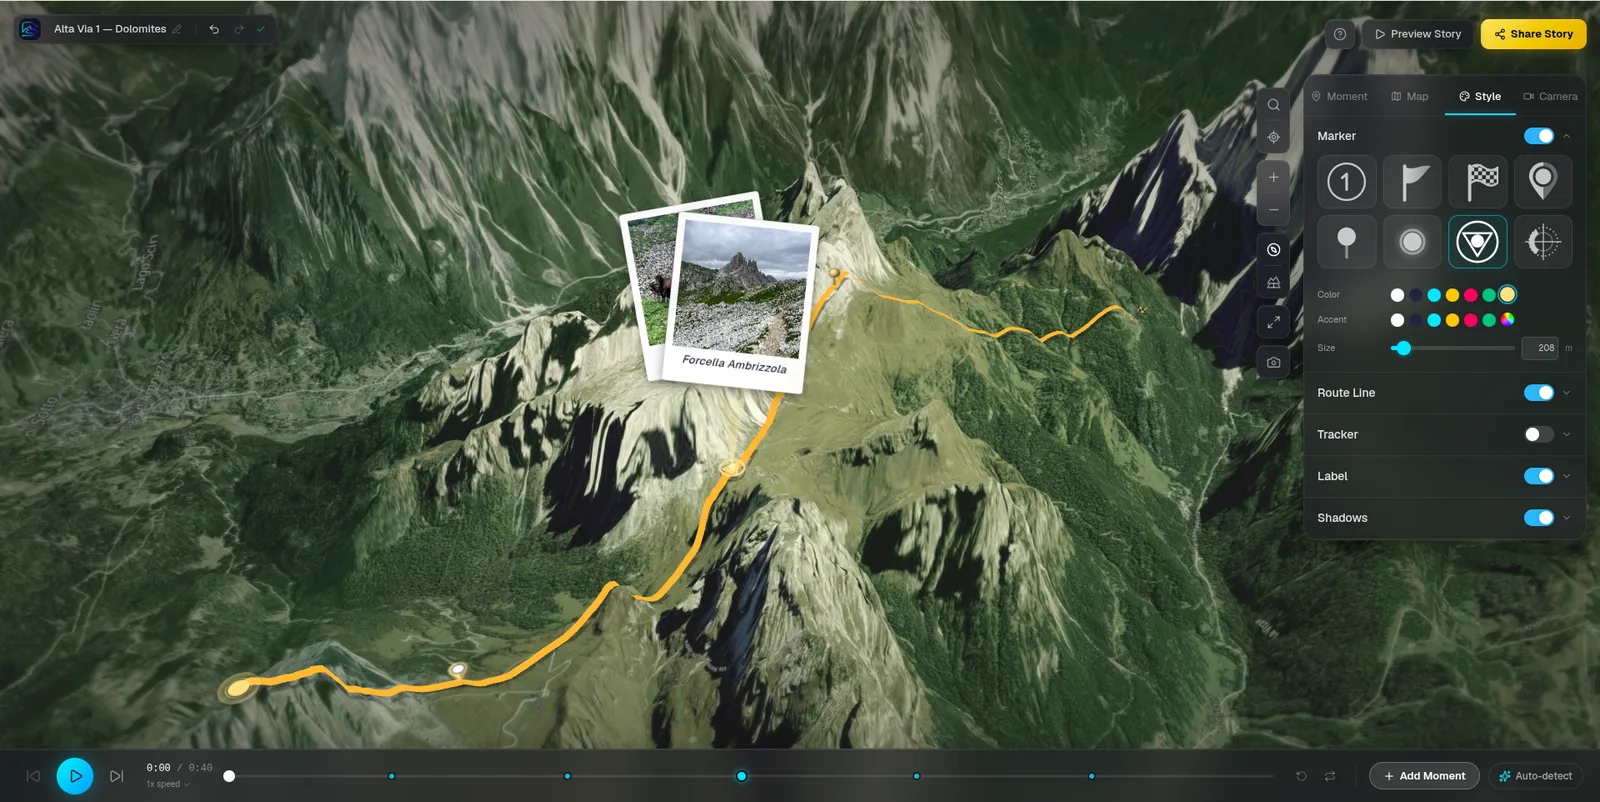
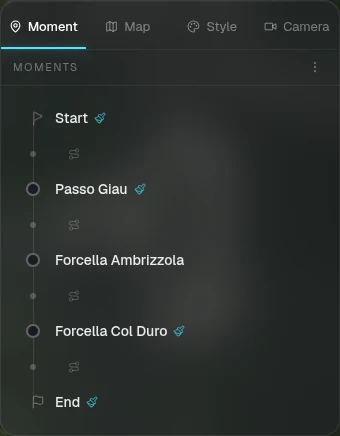
Add moments
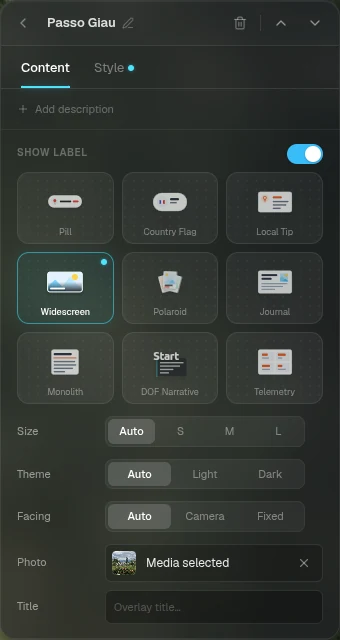
Moments are the stops that tell the story: each one has a marker on the map and a callout card for a photo, a note or a quote. The camera slows down and holds at every moment.
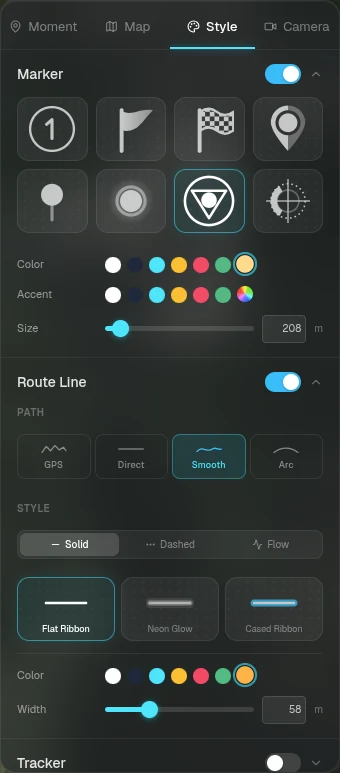
Choose the look
Pick a map style, then tune the route line, markers, the tracker that travels the route, and the music.
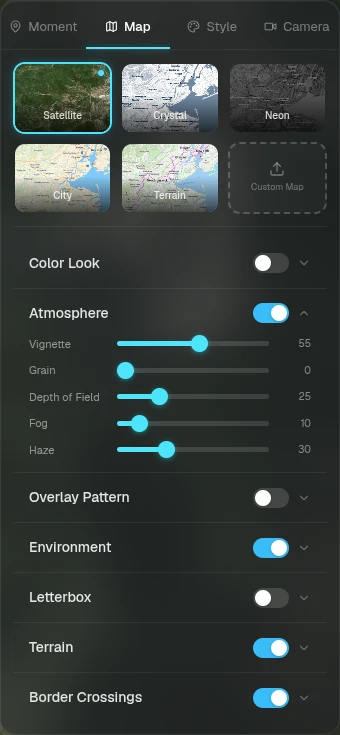
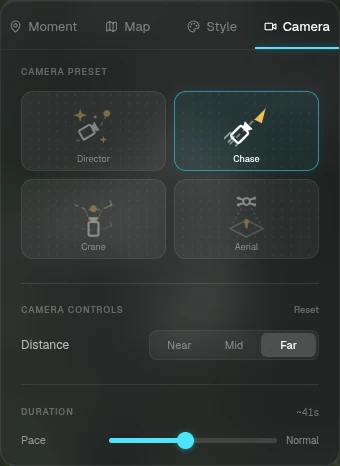
Set the camera and pace
Choose how the camera follows the route and how quickly the story moves.
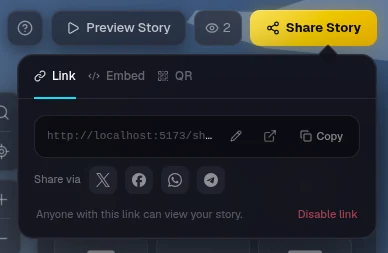
Share it or export a video
Publish a link anyone can open, embed the player on your own site, or download an MP4 for Reels, TikTok or YouTube.
Ready to tell your story?
Turn your GPS track into an interactive, cinematic 3D map in just a few clicks.
Start your first story